
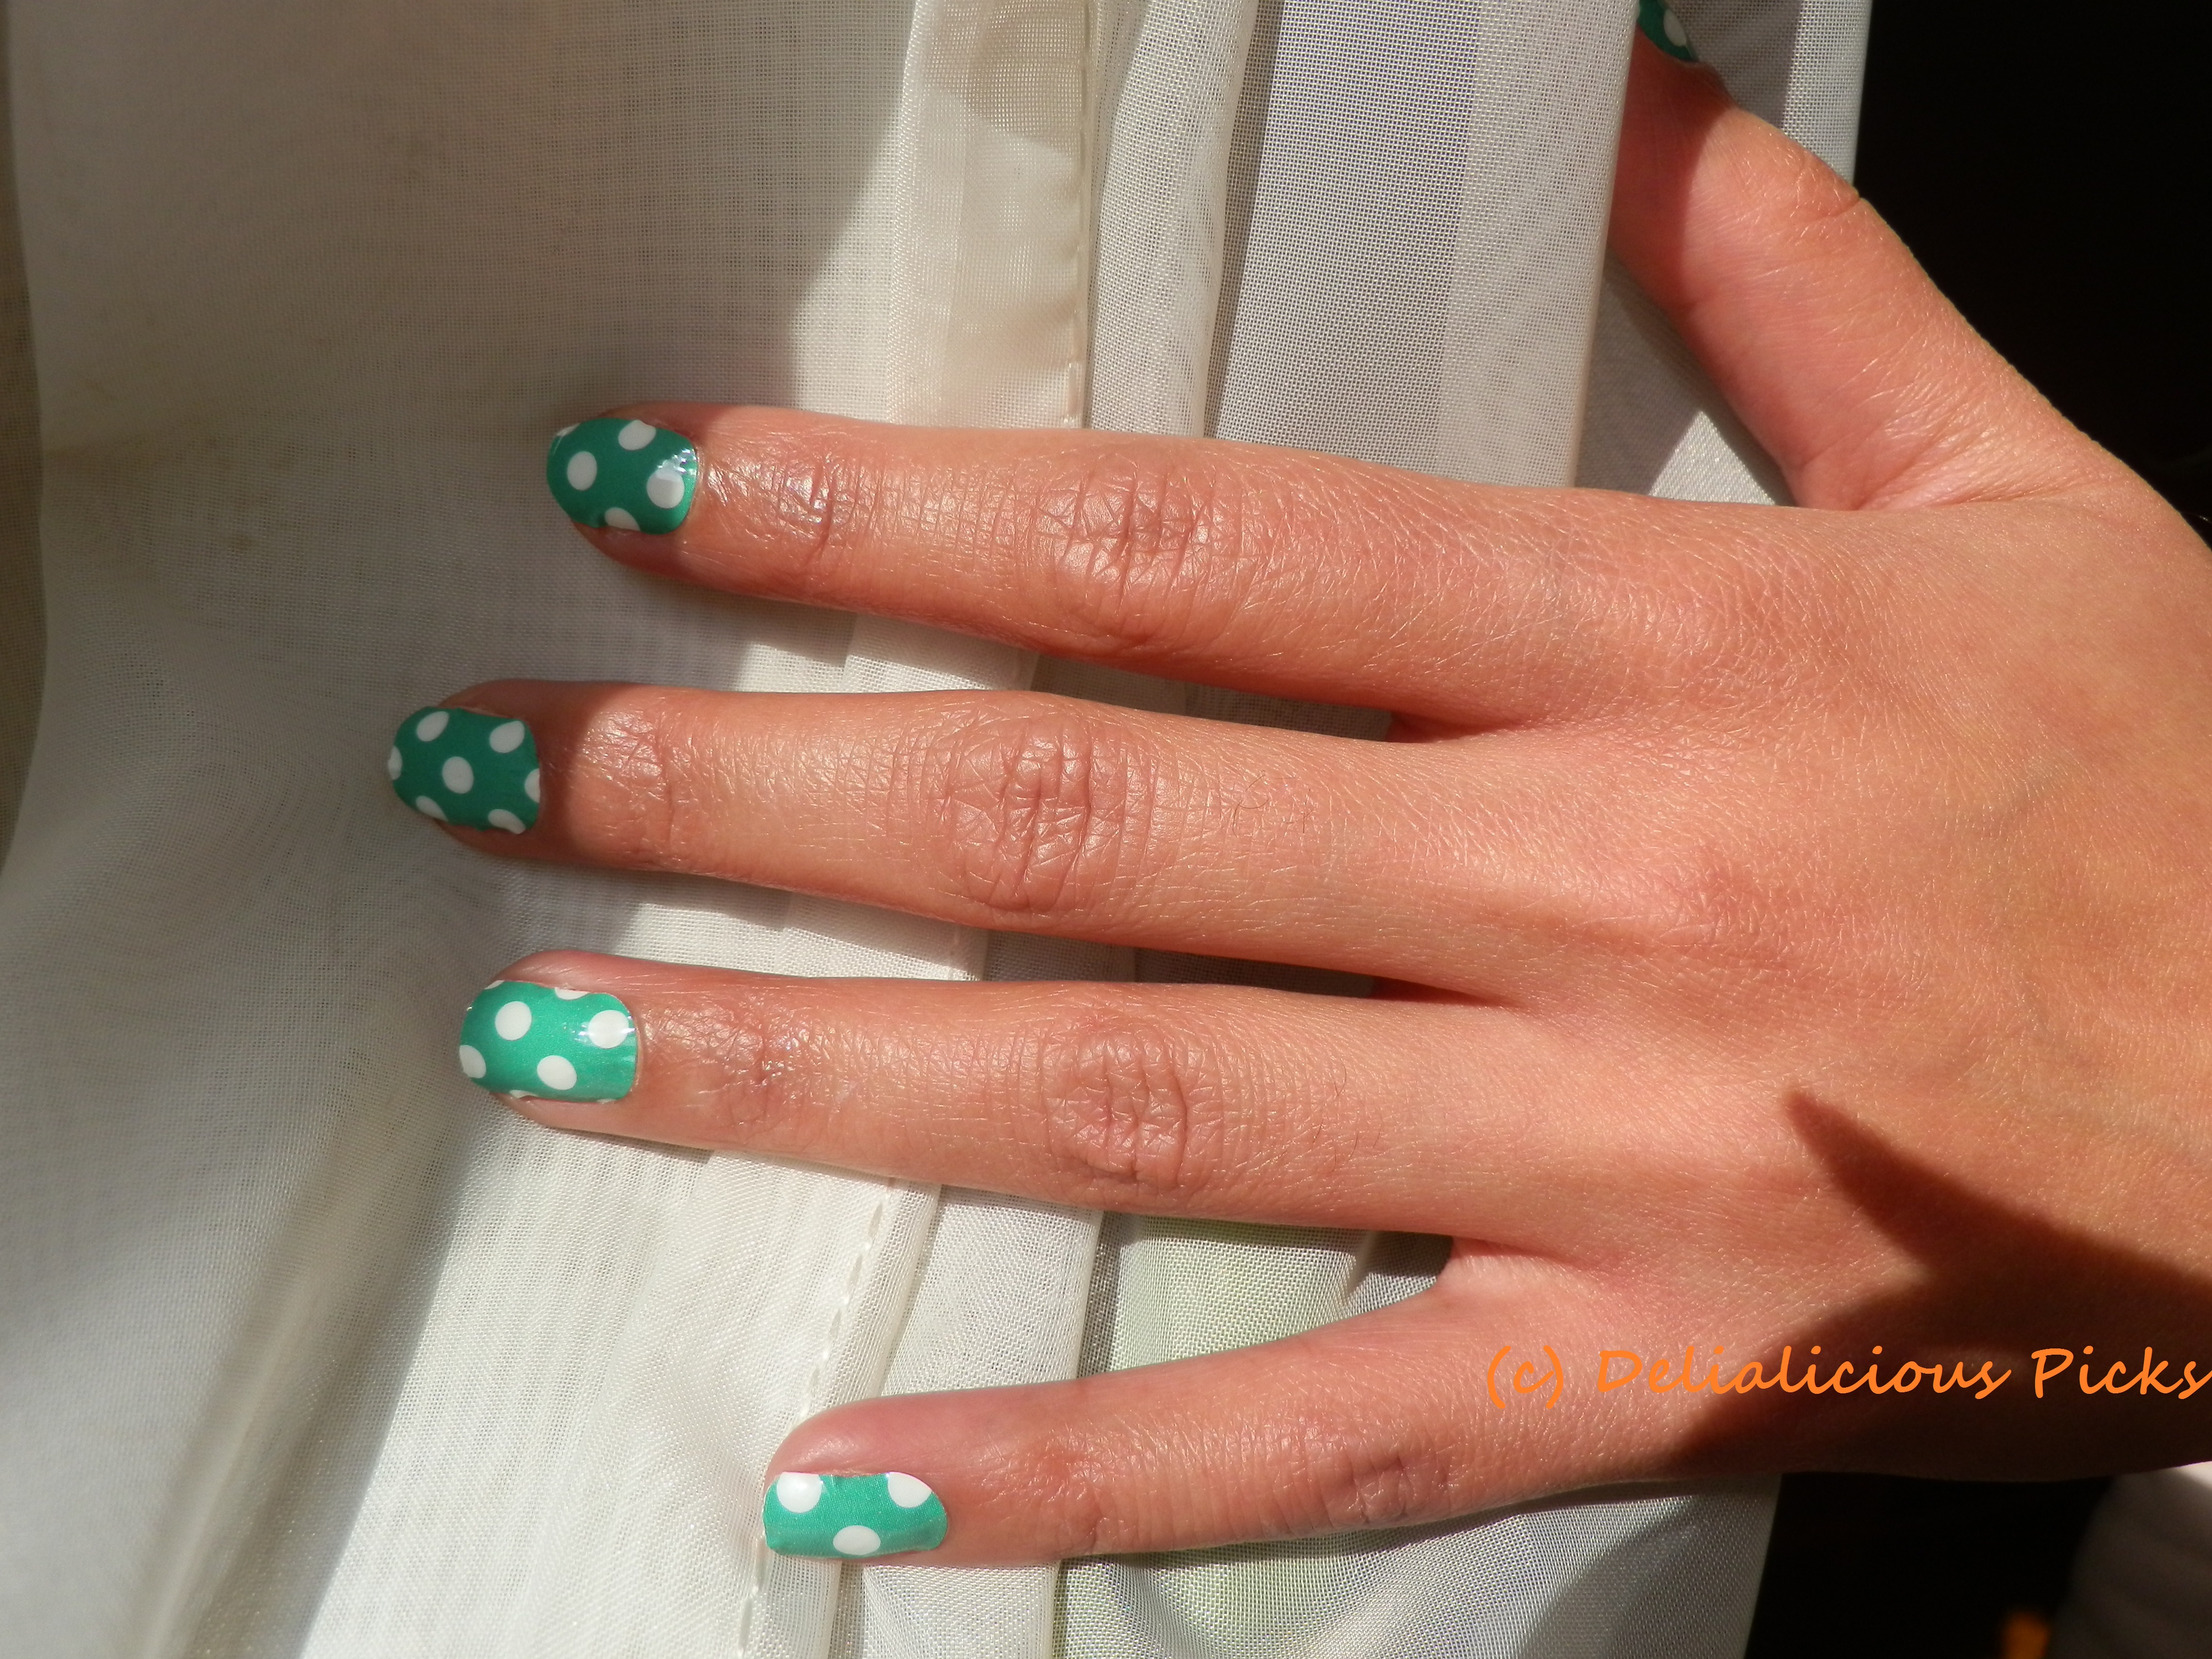
Jamberry nail wraps are a fun way to spice up your style with innovative and creative designs. With St. Patrick’s Day coming up, we decided to test out one of the green and white designs as an ode to the holiday.
Here’s how to add some spunk to your nails:
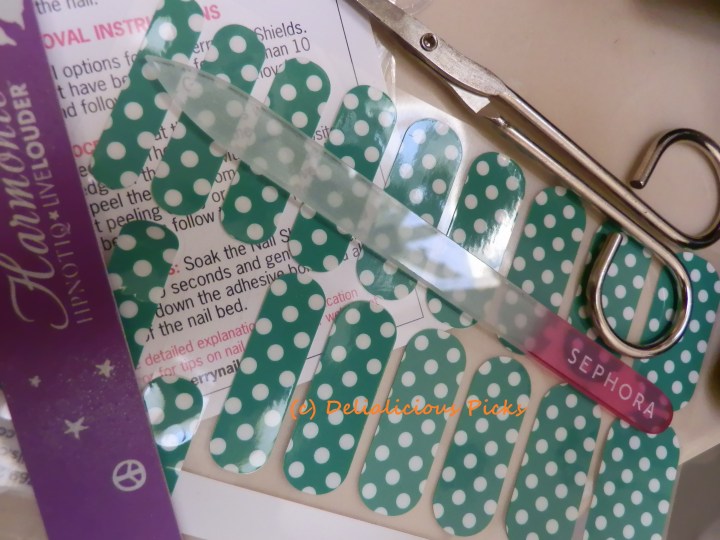
1. Clear nails of all polish with nail polish remover; buff and smooth with a nail file. The Jamberry instructions suggest that you again clean your nails with nail polish remover, but you can skip this part. As long as your nails are dry and oil free, you should be fine.
2. Find your nail size. Instead of going in the order the nail wraps are on the sheet, size your nails up individually under the plastic to find the closest fit. Not all packages come with the same sizes. Some packages come with round and square nail beds.
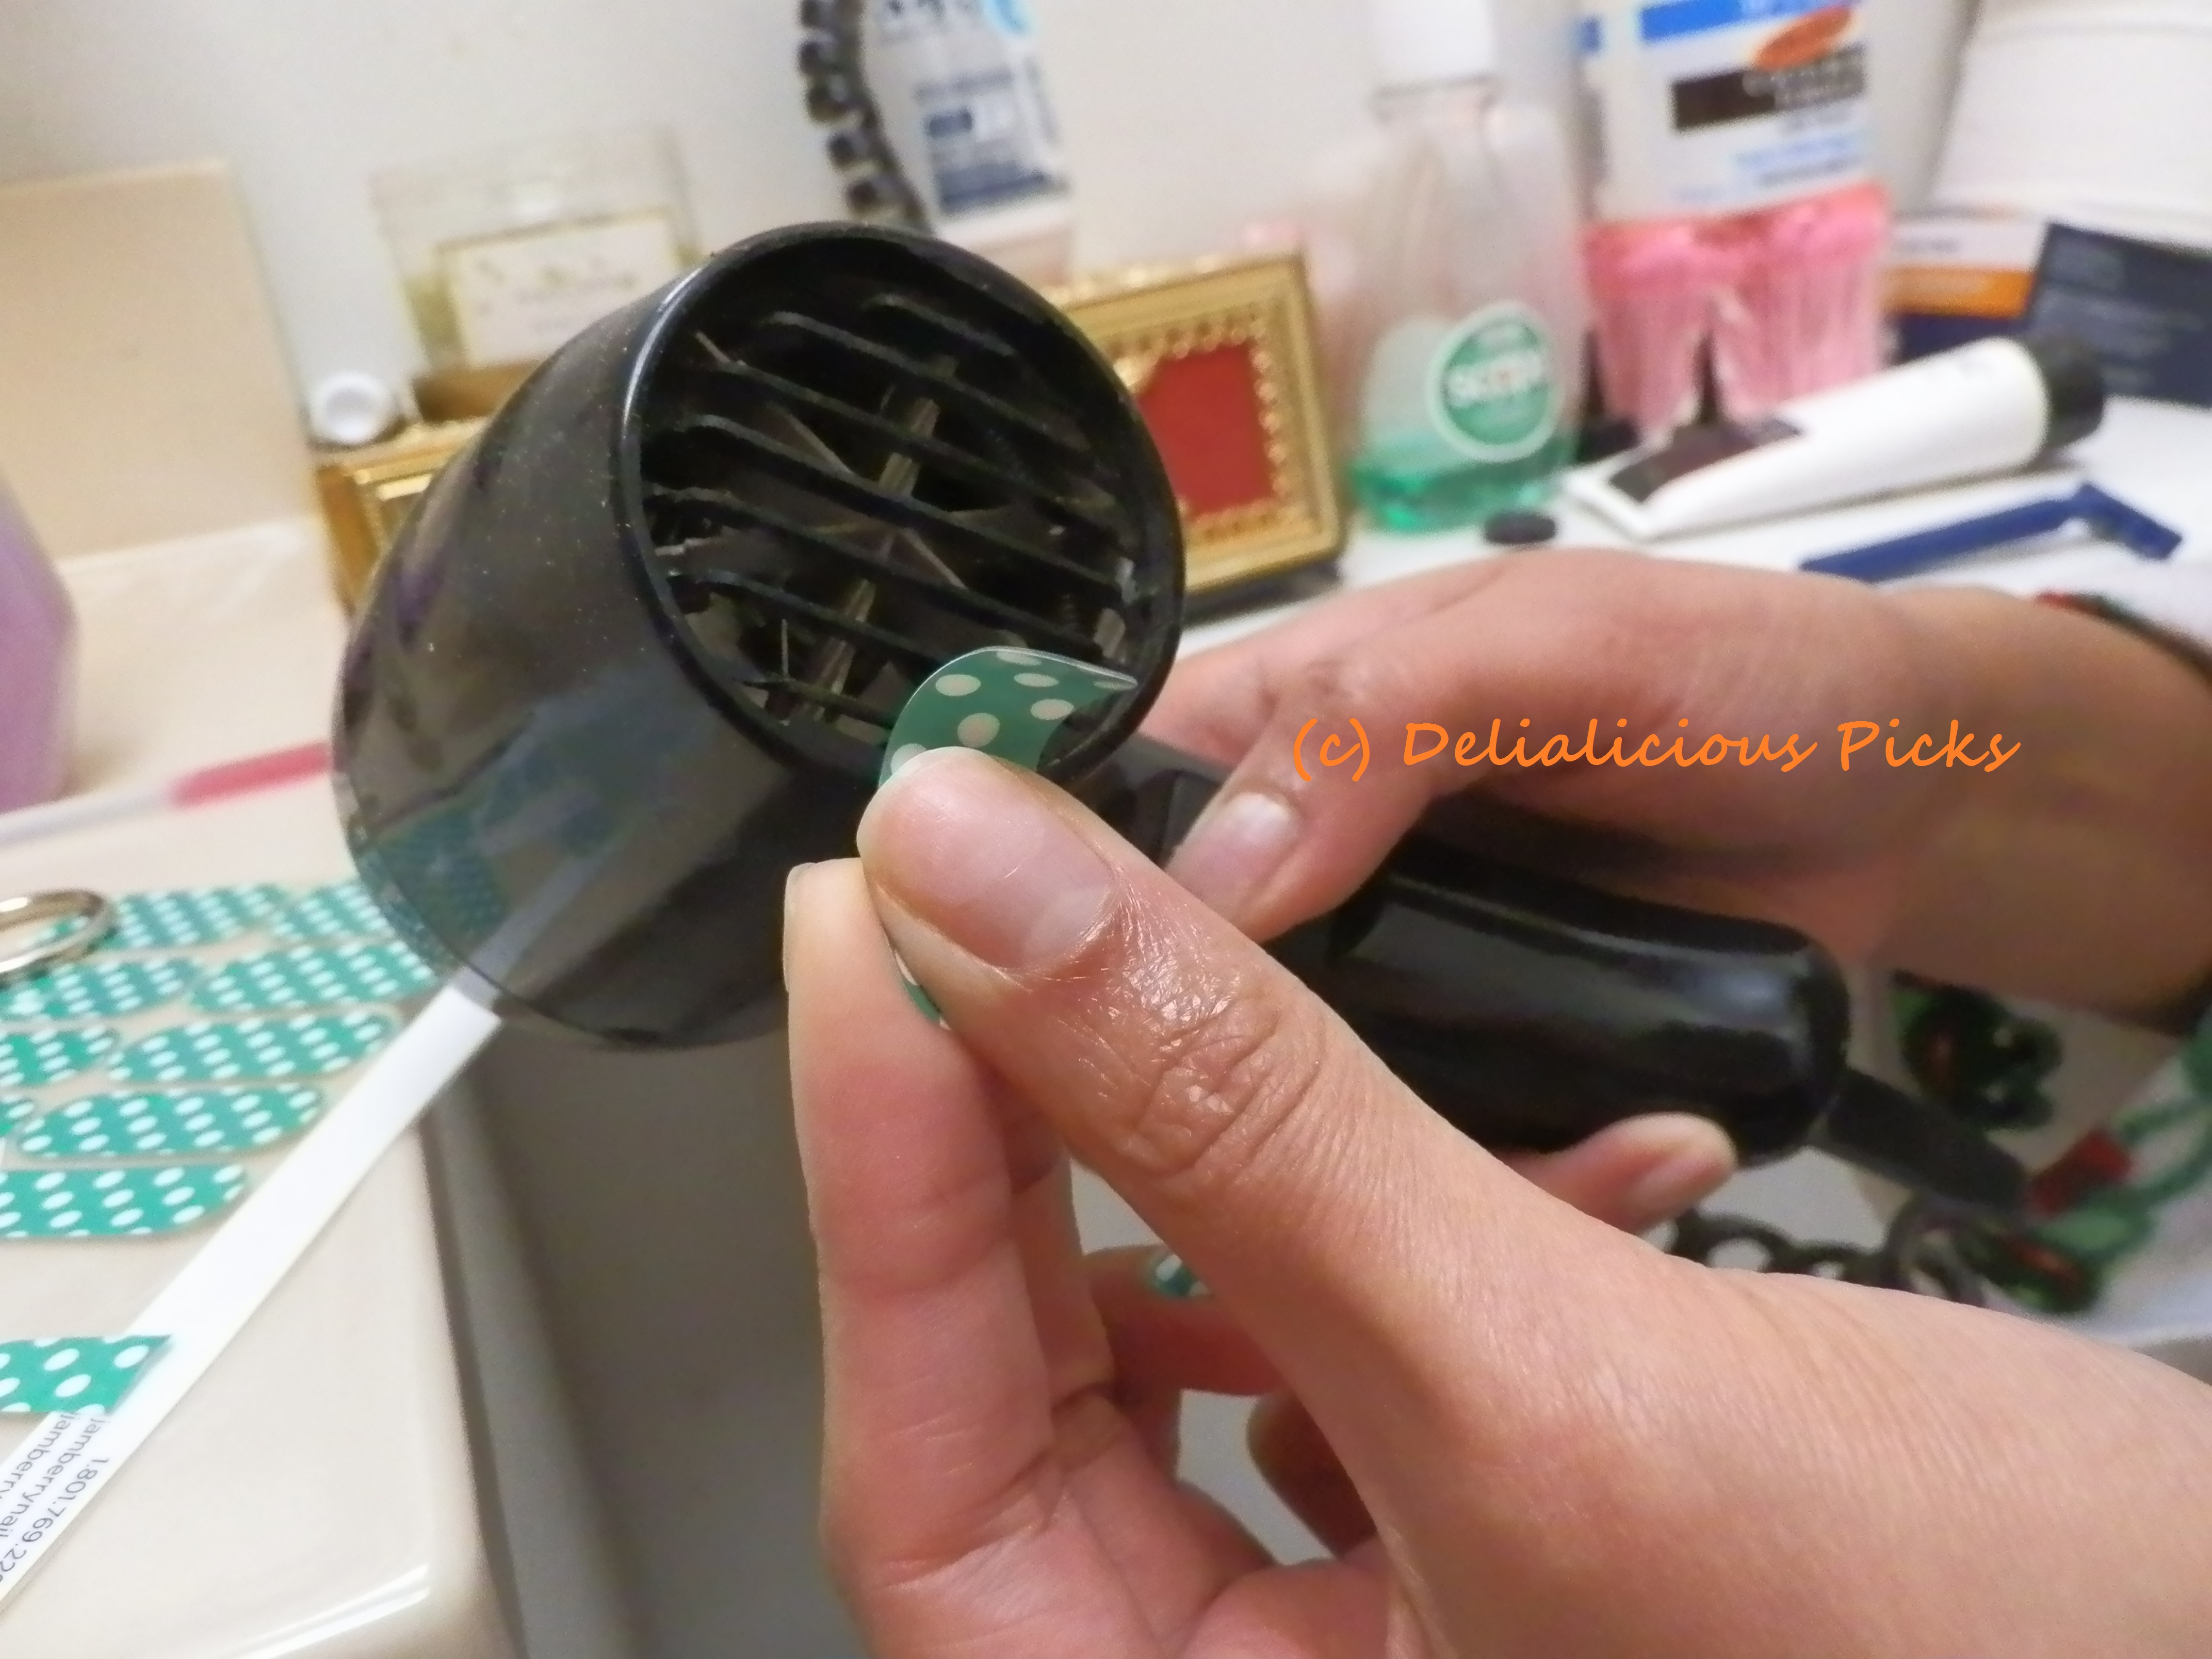
3. Once your size is selected, heat with a blow dryer for 10-15 seconds. It should become warm and flexible.
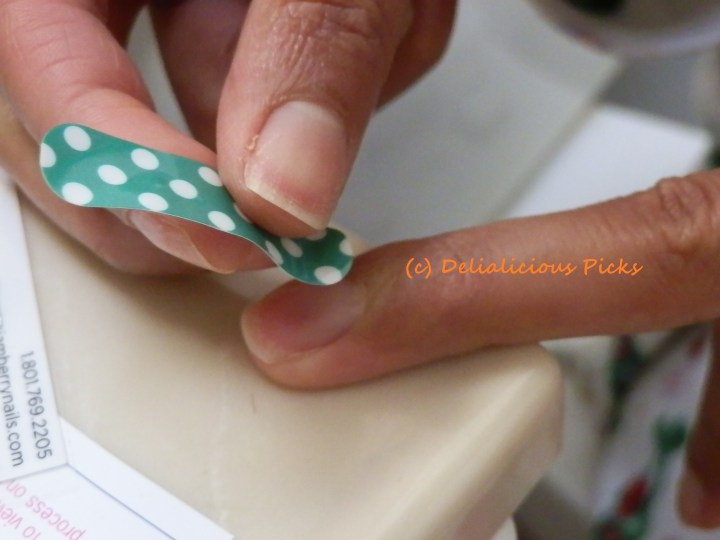
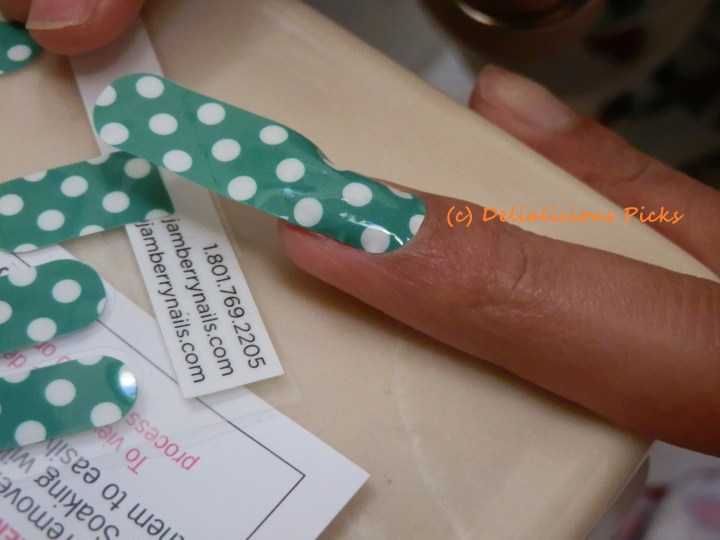
4. Place sticker on nail and firmly smooth over entire nail.
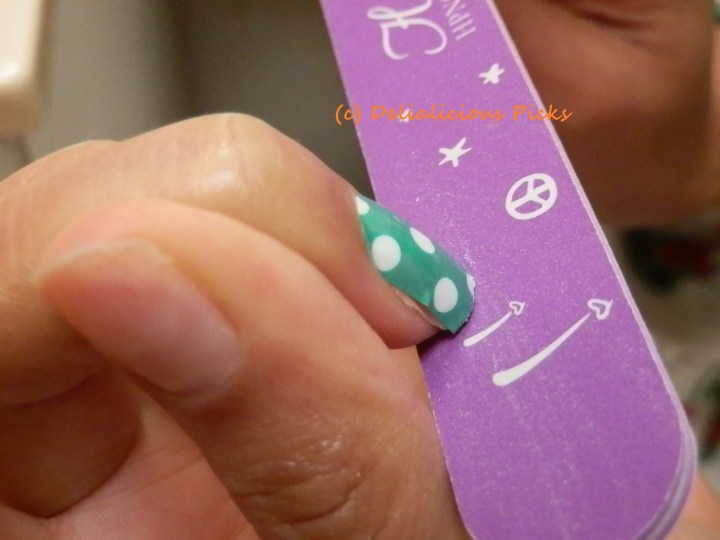
5. Cut sticker to your nail length and file to your nail shape.

6. Heat again with blow dryer and press firmly to seal.
7. Done! Now you are ready for the parade!
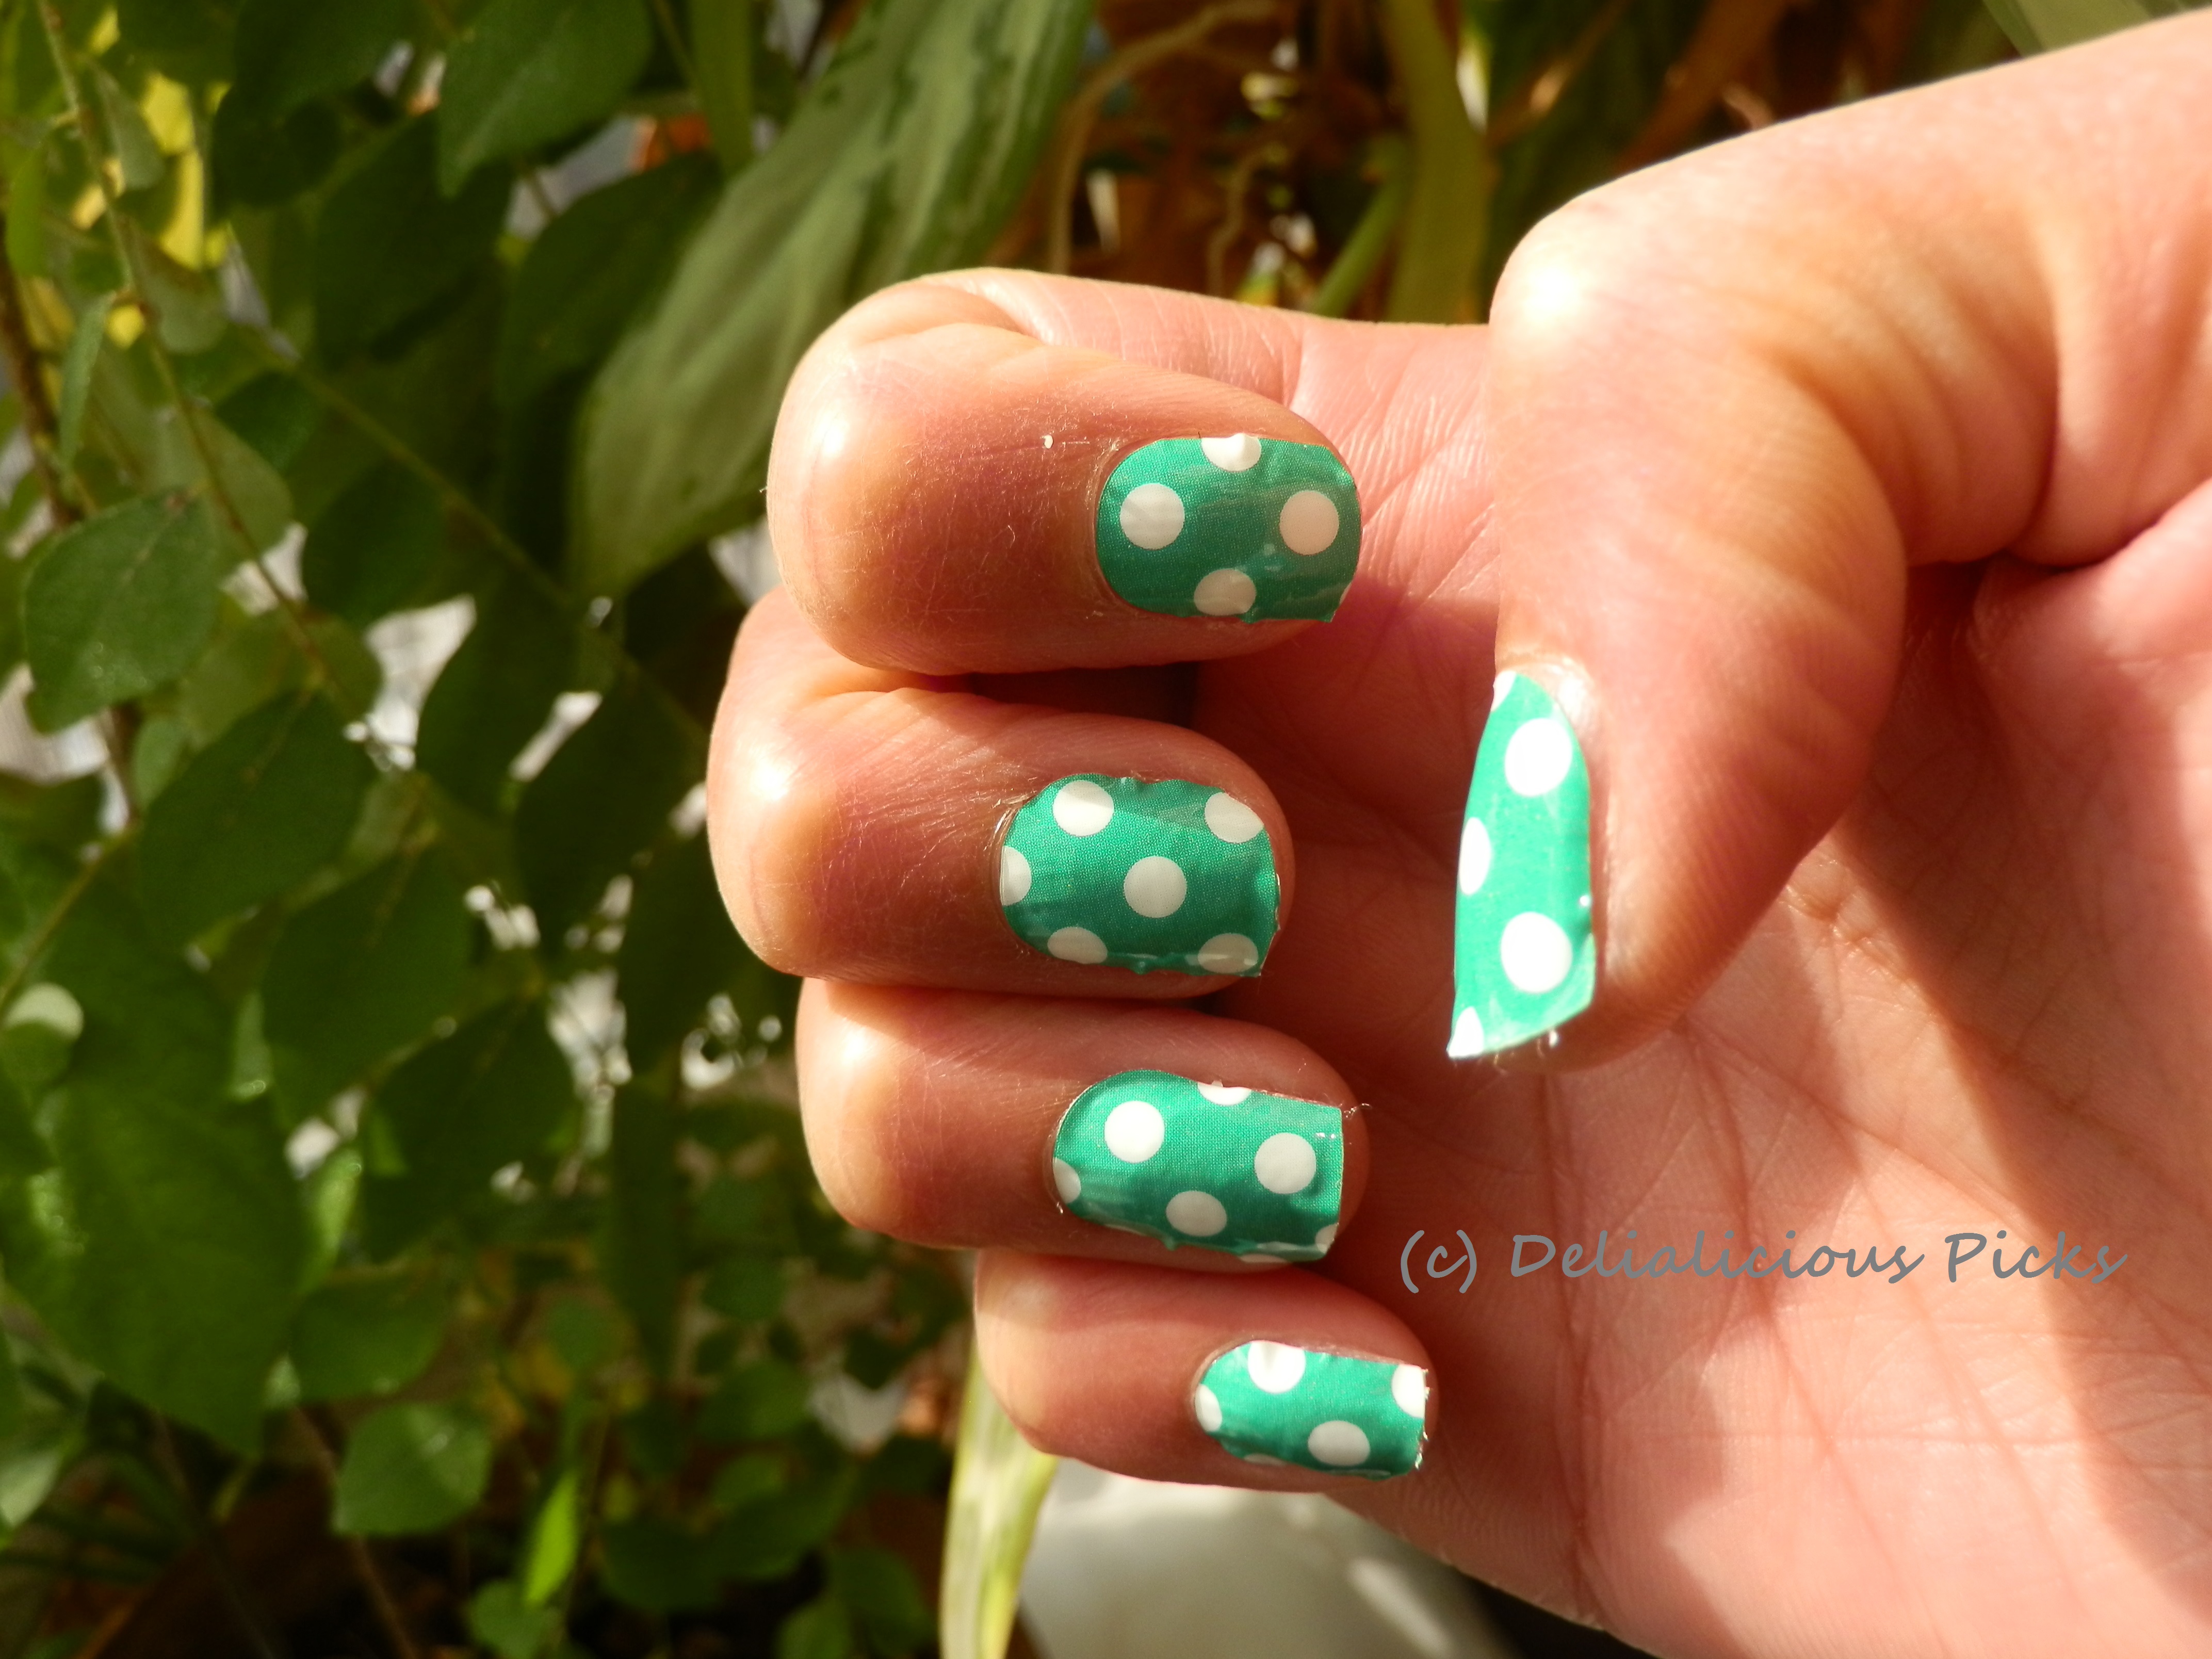
Although we thought our nails came out looking amazing and received tons of compliments, there is a slight learning curve that comes with using the nail wraps. Here are some helpful notes:
1-Make sure you really smooth the sticker at the tip of the nail. Failure to do this will lift the sticker off the nail.
2-It is tiring to do the first hand, but after the first 5 fingers, it becomes easy to do, so don’t give up!
3-By day two, the top nail film started coming off the sticker. Therefore, it’s our opinion that these nails are more suited for one-time events such as weddings, dates or fun events like the one featured for this posting: St. Patricks’ Day!
Note: we received the nail wrap used for this article in a gift bag at the Duane Street Bloggers Lounge in February 2013
Post by Delia and Jolevette
